Shoe Labels: Organize Your Closet

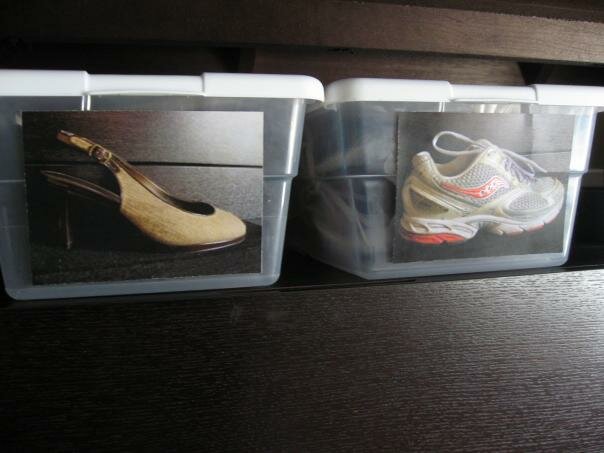
Keeping shoes organized in a closet can be difficult. For years, I found myself scrambling before work to find the right pair of shoes. A friend who works in athletic footwear industry once suggested a method for identifying shoes with a photo on the outside of the box. What a novel idea! No more frantically opening shoe boxes and trying to remember the brands and styles early in the morning
Oftentimes, the original shoe boxes become torn and tattered over the years. Whenever I purchase a new pair of shoes, I go to the local discount craft store and pick up a plastic container for less than a dollar. This helps protect my shoes and keeps my closet organized with a consistent look. Then I create photo labels for all my shoes and then place them on plastic shoe boxes for a durable, organized system to find and protect my shoes.
Here are the simple steps to making your own shoe labels.
- Purchase plastic boxes with a see-through base sized 13.5 inches by 8.25 inches by 4.75 inches.
- Set up an area to photograph your shoes. It is ideal to use the same set-up every time for a consistent look in your closet; try black scrapbooking paper for a backdrop.
- Take a horizontal photo of one shoe from each pair, and then import the photos on your computer.
- Use a photo editing program on your computer to re-size your image to 4 inches by 3 inches.
- Print the file on your home printer or take it to a local printer such as FedEx Office for higher quality color copier printing. Make sure you print the photo on a thick paper stock or photo paper. You can print two photos on one page to save printing costs, but make sure you trim the extra white space to eliminate uneven borders.
- Finally, use double sided tape to adhere the labels onto the boxes and organize away!
Related FedEx Office Solutions: Digital Printing


Comments
Post new comment